Staining a wood door is an approachable DIY project that can help refresh the look of an entryway. With some basic steps and the right materials, you can achieve an updated, professional-looking result. This guide will walk you through the entire process, from proper surface preparation to final topcoat application. Follow along to learn how to stain your door beautifully from start to finish.
Getting Started
There are a few good reasons why staining your door is worth considering. As opposed to painting, stain allows the natural wood grain to show through for a classic look. It also helps protect the wood from UV damage. And it can drastically improve curb appeal if your existing door is faded or worn.
Before beginning, gather all the necessary supplies:
- Door stain: Choose oil or water-based depending on your needs
- Stain brushes: Opt for high-quality bristle brushes
- Sandpaper: An assortment of grits to smooth the surface
- Rags: For wiping away excess stain
- Clear topcoat: Such as polyurethane for protection
- Safety gear: Gloves, glasses, drop cloths, etc.
With your materials assembled, you can move on to prepping the door.
Preparing the Surface
Start by removing the door from its hinges and placing it horizontally across two sawhorses for easier access. Take off all hardware, including knobs, locks, and kick plates. Fill any holes or imperfections with wood filler and let dry completely.
Thoroughly clean the door’s surface using a mild detergent. This removes built-up dirt and oils so the stain can properly adhere. Pay special attention to the edges and panel grooves. When dry, sand the entire surface with 120-150 grit sandpaper to rough up the existing finish. Then smooth it out further with 220 grit paper. The door should feel smooth to the touch when done.
Vacuum away all sanding dust using a brush attachment. You’ll now have a blemish-free canvas ready for stain.
Choosing a Stain
There are two main options when selecting a stain—oil-based or water-based. Oil-based stains contain pigmented oils that penetrate deeper into the wood grain for amplified color effects. The longer drying time also provides more working time. Water-based stains offer lower odor, easier soap-and-water cleanup, and faster drying. But they don’t highlight wood grain quite as dramatically.
Consider the existing color of your door when choosing a stain shade. Typically, it’s best to go slightly darker to cover up old stains. Chestnut and ebony create rich, dark brown hues, while reddish tones like mahogany add warmth. Custom mixing can help you achieve the exact stained color you desire.
There are also different sheens to take into account. A satin or semi-gloss stain helps feature the wood pattern nicely. Opt for a “gel stain” if you want the color to mostly sit on the surface without absorbing too deeply into the grain.
Brushing on Stain
Set up your workspace by laying down rosin paper or a drop cloth and putting on gloves. Before opening the can, thoroughly mix the stain using a paddle to reincorporate pigments. Then pour a small amount into a disposable container—working out of the can risks accidental contamination.
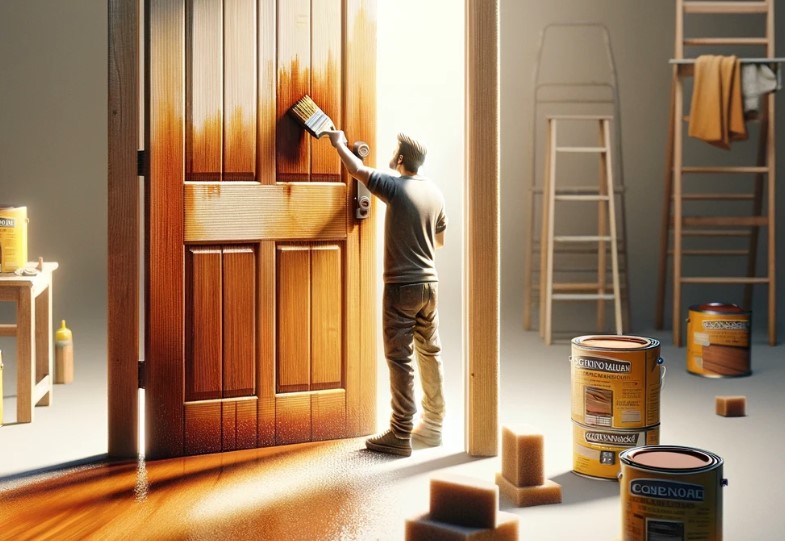
Dip your high-quality staining brush into the stain and apply it in smooth, even strokes following the wood grain. Work in small sections across the door’s width, maintaining a wet edge as you go. After coating a section, use a clean lint-free rag to gently wipe away any excess stain. The goal is to leave stains just in the grooves and pores, not sitting on the surface.
Continue applying stain in controlled sections until the entire door is covered. If desired, go back to redistribute the stain to even out the color. Once the door has reached your preferred tone, set a timer and allow the stain to penetrate for 5-15 minutes before doing a final wipe with a clean rag. This helps achieve maximum saturation.
Additional Coats
At this point, evaluate if your door needs additional staining to deepen or even out the color. This is common with water-based stains. If so, allow the door to dry for at least 3-4 hours before adding another coat. Lightly sand with extra fine (320+ grit) paper first to promote adhesion between layers. Then repeat the application process.
When the staining is complete, let the door dry in a dust-free area for at least 24 hours before continuing. Oil-based stains take even longer to fully cure. Proper dry times are imperative to ensure the stain bonds correctly within the wood.
Protecting the Finish
Without a protective topcoat, your door’s stain will slowly degrade from sun exposure and weather. Using a clear exterior varnish or polyurethane seals the finish to extend its lifespan. These clear coats also provide extra abrasion resistance.
As with stains, you can choose between oil-based or water-based polyurethane. Oil-based versions offer better moisture protection. But water-based is less pungent, dries faster, and makes for easier cleanup. Apply using a high-density foam brush in thin, even passes. Allow to dry 24 hours between 2-3 coats. The more coats applied, the stronger the protective barrier will be.
Take time with this last step—it makes all the difference! Once fully cured, you’ll have a vibrant stained door that stands up to the elements.
Installing the Door
Before rehanging your door, confirm the finish has fully hardened. Check the manufacturer’s recommended curing times. Rushing this risks potential tackiness or imprints from hanging hardware. Once sufficiently dried, replace all door hardware using a power drill. Then fit the door back onto its hinges and test the operation.
Caring for Your Stained Door
With the right maintenance, a stained entry door can retain its like-new appearance for years. Help extend finish durability by keeping the surface clean. Use a soft, damp cloth with mild soap and avoid abrasive cleaners. Spot treat any stubborn dirt buildup. Check periodically for areas needing touch-ups, especially horizontal surfaces prone to early wear. Lightly sand worn sections and use leftover stain for targeted refinishing. This preserves the overall look.
When the door’s color starts noticeably fading, it’s time to clean, sand, and reapply the stain. This maintenance stain may not require as many coats. Properly caring for your stained door adds value and ensures it stays beautiful over time.
In Conclusion
Learning how to stain a door is an accessible project for most DIYers willing to take their time. Following the preparatory steps, application techniques, and finish recommendations outlined above will lead to a professionally stained result. And maintaining the door’s sealed surface will help it last for years before needing to re-stain. With a little work, you can completely transform a worn entryway.